The Trick To Making A Perfect Korean Dalgona Iced Coffee

The internet is buzzing about a new Korean iced coffee drink call Dalgona. You may have seen videos showing people making it. However, they often leave out crucial steps to make it properly. Unless you do things right, you might just end up with sweet coffee milk instead of that fluffy ice texture that made it so popular.

The first thing you need to know is that this recipe won’t work with regular ground coffee. Even if you use fine ground espresso beans, it won’t whip up much. You must use instant coffee. We suggest using instant espresso powder for the right flavor. You can find it online and at most stores.

Get a small cup. We like using a glass measuring cup (one cup size is good). Put in 4 teaspoons of your powdered instant coffee into the cup. Next, add the same amount of sugar (4 teaspoons). You can whip it up, but we find chilling it in the freezer for about 20 minutes gives a better thicker cream.

Take it out of the freezer. Use an electric hand mixer, like the kind you would use to mix cake batter. However, you only need one of the beaters inserted. Place the beater into the cup and start whipping at high speed. Keep going until your mixture becomes thick, like the consistency of frozen yogurt. It should only take about a minute or so. Make sure to use a really high speed. Things can splatter, so doing this in your kitchen sink or other protected area is a good idea.

The final step uses about a cup of very cold milk. Pour it into a small bowl or cup. Add some ice cubes to the milk. Finally, spoon in your whipped coffee mixture. Use a small spoon and enjoy. If you want to make more, just add more coffee, always keeping the same amount of sugar.

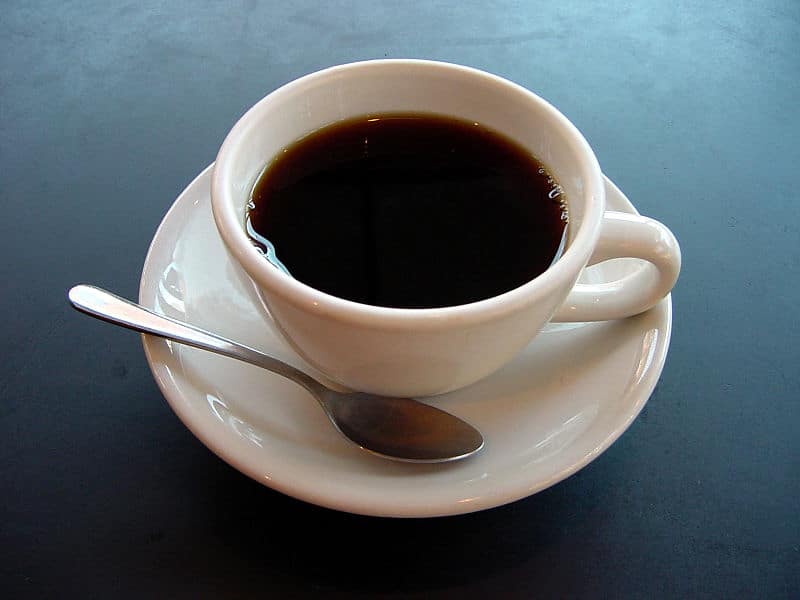
The Trick To Making A Perfect Cup Of Coffee

Coffee. Just thinking about it can make you happy. However, a bad cup of this liquid gold can make you sour. Luckily, making a great cup of coffee, one that has the perfect balance of coffee flavor without being too bitter or sour, is easy once you know the trick to it.

A basic coffee maker is all you need for that perfect cup. The key is to use fresh whole beans. Check the expiration date to make sure they are still fresh. Store them in a dark container in a cool area, but never in the refrigerator or freezer, since it can add moisture. You want them dry. Keeping them in the original coffee bag is a good idea.

The coffee brand is up to you. In general, we have yet to find good coffee that was also cheap. We like Starbucks brand. Breakfast Blend and Sumatra are our favorites. While more pricey, it is cheap compared to buying coffee at a coffee shop. Did you know that there are only two main types of coffee beans – Arabica coffee and Robusta. All the other hundreds of varieties come from how they roast them. Stay away from Robusta and stick with Arabica. Most of the super cheap brands are Robusta.

Next comes the grind. You should invest in a good burr grinder. However, an inexpensive blade grinder works for most people. We suggest using a medium grind, but on the course side to keep things from getting too bitter. Grind things finer for a stronger brew. Add your water to the coffee maker. You really should use filtered water from either a bottle or a water filtering system. Without good water you will never have good coffee. We suggest following the instructions on your coffee maker for the amount of water. They usually have lines that tell you how much to add for a given amount of cups.

After good filtered water, the next most important item is determining how much coffee to add. Most people use way too much. Even places like Starbucks make it too bitter and sour. We suggest using 1 coffee scoop per cup of water. If you don’t have a coffee scoop, you can use 2 tablespoons per cup which is the same thing. The scoops should be level, but you can make them more rounded if you want a strong brew.

Make your coffee in the coffee machine. All of them are about the same, but we like the “Mr. Coffee” brand. They are cheap and make a great cup of coffee. At this point you should also boil a lot of hot water in a tea kettle.

Get your mugs out. When the water boils, pour it in your cups. In order to have a hot cup of coffee you must warm the cups before adding coffee. When the coffee in the coffee maker is ready, you dump out the hot water. Make sure you have extra hot water for this next important step.

Here is the trick in our opinion that will make your coffee taste smoother and give you a lot more control over the flavor. Fill your warm cups with coffee, but only about half full. Try your coffee. If the strength is good for you, you can continue to fill your cup. However, if it is too strong, which is often the case, just add hot water to the cup until it tastes the way you want. If it gets too weak, add more coffee. You in a sense will be “cooking” your coffee in the mug to make it personalized to your tastes. Each time you make coffee the strength and flavor will vary based on the bean type, grind, amount of time they have been opened, water temperature, and many other factors. Adding hot water is how you can adjust for these things and make that perfect cup.

If you want a fancy drink, like a Cappuccino, you can add milk foam to your coffee. One trick to make it fast and easy is to pour milk (we like whole milk) into a cup and microwave it until the temperate is 160 degrees Fahrenheit. You need to invest in a thermometer since the foam won’t happen unless you are at this critical temperature. All that is left to do is use a small whisk to get your glorious foam. Whisk longer and faster for more foam. Pour the foam on top of your coffee. You can even make some fancy designs by using a coffee stirrer and drawing different lines in the foam. There are lots of online tutorials and videos on making coffee art.

Sit back and enjoy your delicious cup of coffee. Don’t keep leftovers too long, since your coffee will go sour after about 30-45 minutes of sitting in a coffee pot. Just make smaller amounts more often to avoid wasting coffee. This is a big advantage to making coffee at home. Most restaurants keep coffee sitting in a pot way too long, resulting in bad tasting sour coffee when they serve it.

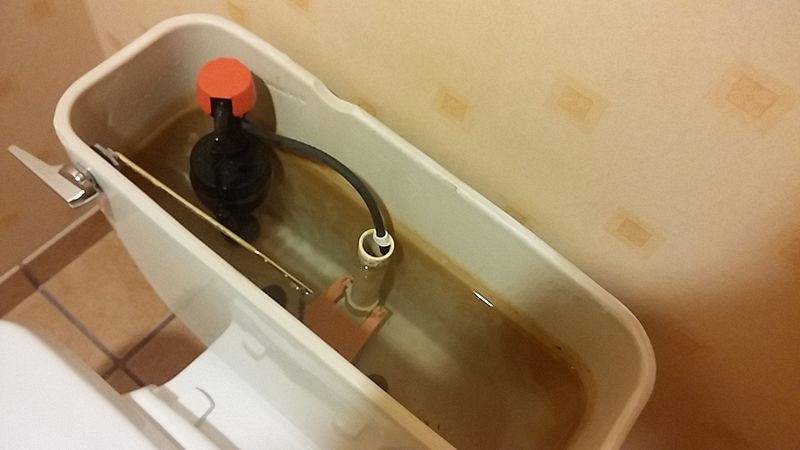
The Trick To Fixing A Leaking Toilet Tank

We have all experienced that sound of water continuously running after you flush a toilet and the tank tries to refill. Instead of stopping, the tank just keeps refilling as water drains back into your bowl. You may also notice that the water fills the tank very slowly.

In most cases the problem can be easily fixed by just cleaning the stopper. Calcium and other minerals can often grow on the drain which breaks the seal and allows water to keep draining. You should purchase a cleaner that removes things like calcium and lime. A good one is called CLR (Calcium, Lime, & Rust Remover). However, there are many different brands.

Before you clean it turn off the water that feeds into your toilet. It can usually be done by turning or pushing/pulling a knob. Once the water is off, put some of the cleaning solution on a paper towel and rub it around the bottom of the flapper that touches the tank drain. You should also rub it on the drain surface itself. It is a good idea to wear rubber gloves when doing this, since the cleaning solution can be harmful if a lot gets on your skin. Make sure to wash your hands after using it and avoid touching your eyes.

You should next fill the tank with water again, but this time stop when the water is just above the flapper seal. You want to have water over it, but not too much. Put in some extra lime cleaner (1/4 cup is good). Allow the cleaning solution to work by sitting overnight. In the morning you can fill it back up and the toilet tank should no longer be draining once it fills. You should also notice that it fills up a lot faster because the cleaner in the water will remove stuff that was blocking water flow.

If this trick does not work, you may need to buy a replacement flapper. Just do a search online, or use Amazon and look for a toilet flapper valve. They come in different sizes, so get the one that matches your drain pipe size (3 inches and 2 inches are the most common).

You can also put some CLR in your tank once per month to help prevent the problem from happening again. This is especially important if you don’t use your toilet very often or go on vacation.

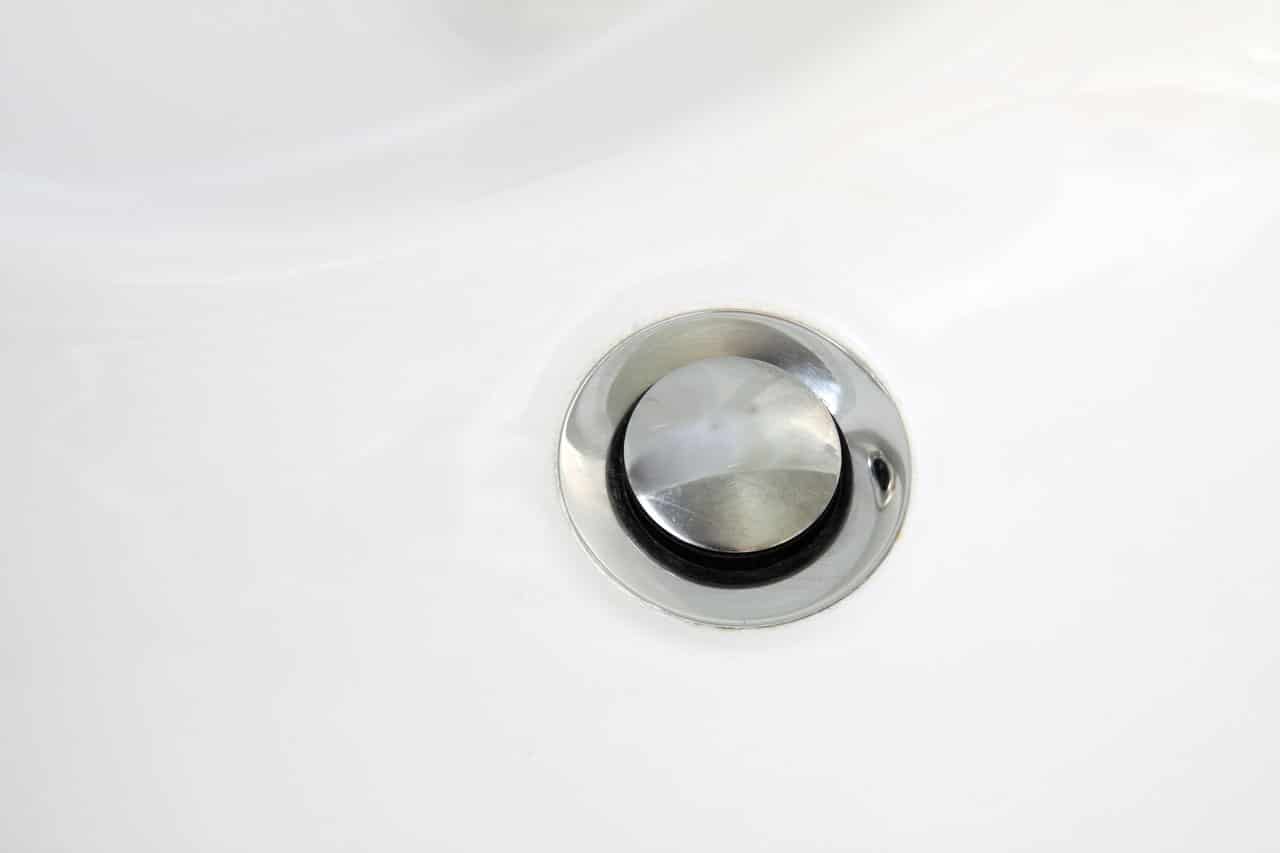
The Trick To Removing A Standard Bathtub / Shower Drain Stopper

Many people want to replace their bathtub drain stopper with another one. They may also want to remove it and use a simple screen stopper instead which is great for keeping hair from clogging your drain.

In most cases you won’t need any tools to do it. The trick is to first close the drain by turning it by hand, just as if you were going to fill it with water. Next, twist it by hand using the knob until it opens on its own (just like you normally do to open the drain). Carefully turn it with a lifting motion until it moves up. You need to keep it in that exact spot. You now want to keep everything steady and grab the entire drain stopper (wide part). Just keep turning it counter clockwise until it comes off. If it does not work, it may have moved, so repeat everything making sure it is in the slot that allows it to move up and down while you turn it.

This will work for most stoppers, but if you have one that has a screw holding it down, you will need to use a screwdriver to remove it.